Banish Ceiling Water Stains for Good: A DIY Repair Guide
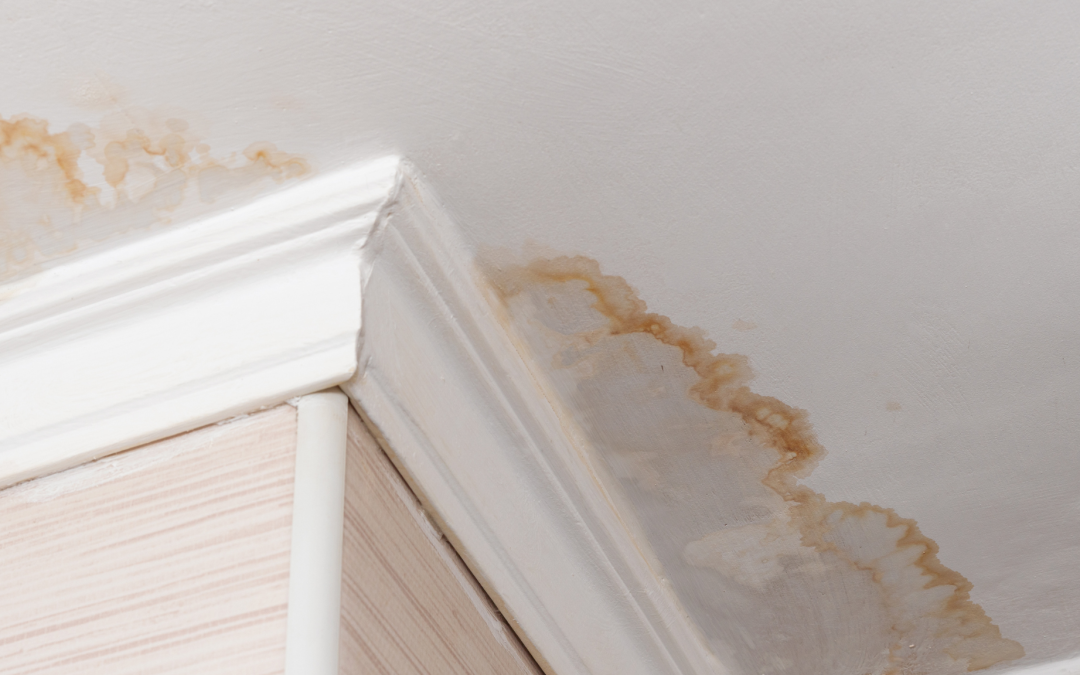
Ceiling water stains can be an eyesore, hinting at underlying water damage and potential structural issues. Whether caused by a leaky roof, plumbing problem, or condensation buildup, addressing these stains promptly is crucial to prevent further damage and maintain the aesthetics of your space.
This guide will explore practical tips and techniques for repairing ceiling water stains and restoring your ceiling to its former glory.
Identify and Fix the Source of the Leak:
Before tackling the stain, it’s essential to pinpoint and rectify the underlying cause of the water intrusion. Inspect your roof, plumbing fixtures, and HVAC systems for leaks. Repair any damaged shingles, seals, or pipes promptly to prevent ongoing water damage.
Safety First:
Working on ceilings involves being mindful of safety hazards. Ensure you have a stable ladder and appropriate safety gear, and take necessary precautions to avoid accidents. If the damage is extensive or involves electrical components, it’s wise to seek professional assistance.
Prepare the Area:
Clear the area around the stained ceiling. Lay down protective sheets or drop cloths to catch drips or debris during the repair process. Use a mild detergent solution to clean the affected area and remove any dirt or grime.
Assess the Damage:
Evaluate the extent of the water stain to determine the appropriate repair method. Minor stains may only require cosmetic touch-ups, while larger stains might necessitate more extensive repairs, such as patching or retexturing.
Remove Loose Material:
For textured ceilings, gently scrape away any loose or flaking material using a putty knife or scraper. Be careful not to damage the underlying surface further.
Apply Stain Blocking Primer:
To prevent the stain from bleeding through the new paint, apply a stain-blocking primer specifically designed for water stains. This seals the affected area and ensures a smooth, uniform finish.
Patch and Repaint:
For smaller stains or minor surface damage, patching with a joint compound or spackling paste may suffice. Once the patch is dry, sand it smooth and apply a coat of primer before painting.
Blend with Surrounding Ceiling:
To ensure a seamless repair, match the paint color and texture of the surrounding ceiling as closely as possible. Use a high-quality paint roller or brush to apply the paint evenly, feathering the edges to blend with the existing texture.
Monitor for Recurrence:
After completing the repair, monitor the area closely for any signs of recurring water stains or moisture buildup. Address any issues promptly to prevent further damage and maintain the integrity of your ceiling.
Consider Professional Assistance:
If the damage is extensive or you’re unsure about the repair process, don’t hesitate to seek professional help. A qualified contractor or restoration specialist can accurately assess the situation and provide effective solutions tailored to your needs.
Dealing with ceiling water stains can be daunting, but with the right approach and techniques, you can restore your ceiling to its former glory. By addressing the underlying cause of the stain, preparing the area properly, and using appropriate repair methods, you can banish water stains for good and preserve the beauty and integrity of your space.
Remember, when in doubt, it’s always best to consult with professionals to ensure the job is done right.
AWP Home Inspections offers professional home inspection services in West Central and Central Indiana. Our team is dedicated to providing information so you can feel confident about your property’s condition. Contact us to request an appointment.