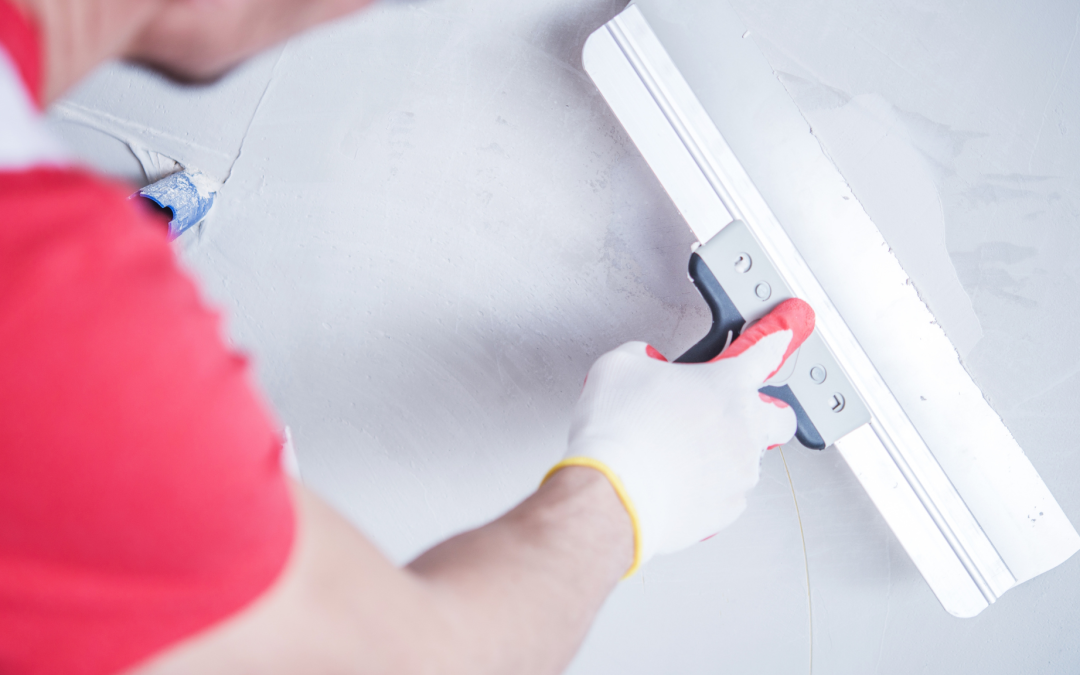
Drywall is a common building material used in homes and buildings for its smooth, durable finish. However, accidents happen, and you may find yourself needing to patch a hole or dent in your drywall. Fortunately, patching drywall is a manageable DIY task that can save you time and money. With the right tools and techniques, you can restore your walls to their former glory.
In this guide, we’ll walk you through the step-by-step process of patching drywall in your home.
Materials Needed:
- Drywall patch kit or drywall compound
- Drywall joint tape
- Sandpaper (medium and fine grit)
- Utility knife
- Putty knife
- Paint primer
- Paint
Step 1: Prepare the Area
Before you begin patching, it’s essential to prepare the damaged area. Start by clearing any debris or loose drywall around the hole or dent. Use a utility knife to create clean edges, removing jagged or uneven sections.
Step 2: Apply Joint Tape
If the hole is larger than a nail hole or a small dent, you must reinforce it with joint tape. Cut a piece of drywall joint tape slightly larger than the damaged area. Place the tape over the hole, ensuring it covers the entire area.
Step 3: Apply Joint Compound
Next, apply a thin layer of joint compound over the joint tape or directly onto the damaged area if no tape is needed. Use a putty knife to spread the compound evenly, feathering the edges to blend with the surrounding wall. Allow the compound to dry according to the manufacturer’s instructions.
Step 4: Sand the Surface
Once the joint compound is dry, use medium-grit sandpaper to smooth any bumps or rough patches. Be careful not to sand too aggressively, as this can damage the surrounding drywall. After sanding, switch to fine-grit sandpaper to achieve a smooth finish.
Step 5: Apply Additional Coats (If Necessary)
Depending on the size and depth of the patch, you may need to apply multiple coats of joint compound. After each coat dries, sand the surface lightly before applying the next layer. Continue this process until the patch is flush with the surrounding wall.
Step 6: Prime and Paint
Once satisfied with the patch, apply a coat of paint primer to the repaired area. Primer helps the paint adhere evenly and provides a uniform surface. After the primer has dried, paint the patched area to match the rest of the wall. Allow the paint to dry completely before assessing the results.
Patching drywall may seem daunting initially, but with the right tools and techniques, it’s a task that any homeowner can tackle. By following these steps, you can restore your walls to their original condition and maintain the beauty of your home.
Remember to take your time, be patient, and don’t hesitate to seek professional help if needed. With practice, you’ll become a drywall patching expert in no time.
AWP Home Inspections offers professional home inspection services in West Central and Central Indiana. Our team is dedicated to providing information so you can feel confident about your property’s condition. Contact us to request an appointment.

